鲜花( 152)  鸡蛋( 1)
|
本帖最后由 billzhao 于 2017-12-20 22:48 编辑
3 H6 r+ k2 V) g2 T9 ?$ V$ v8 Z- f
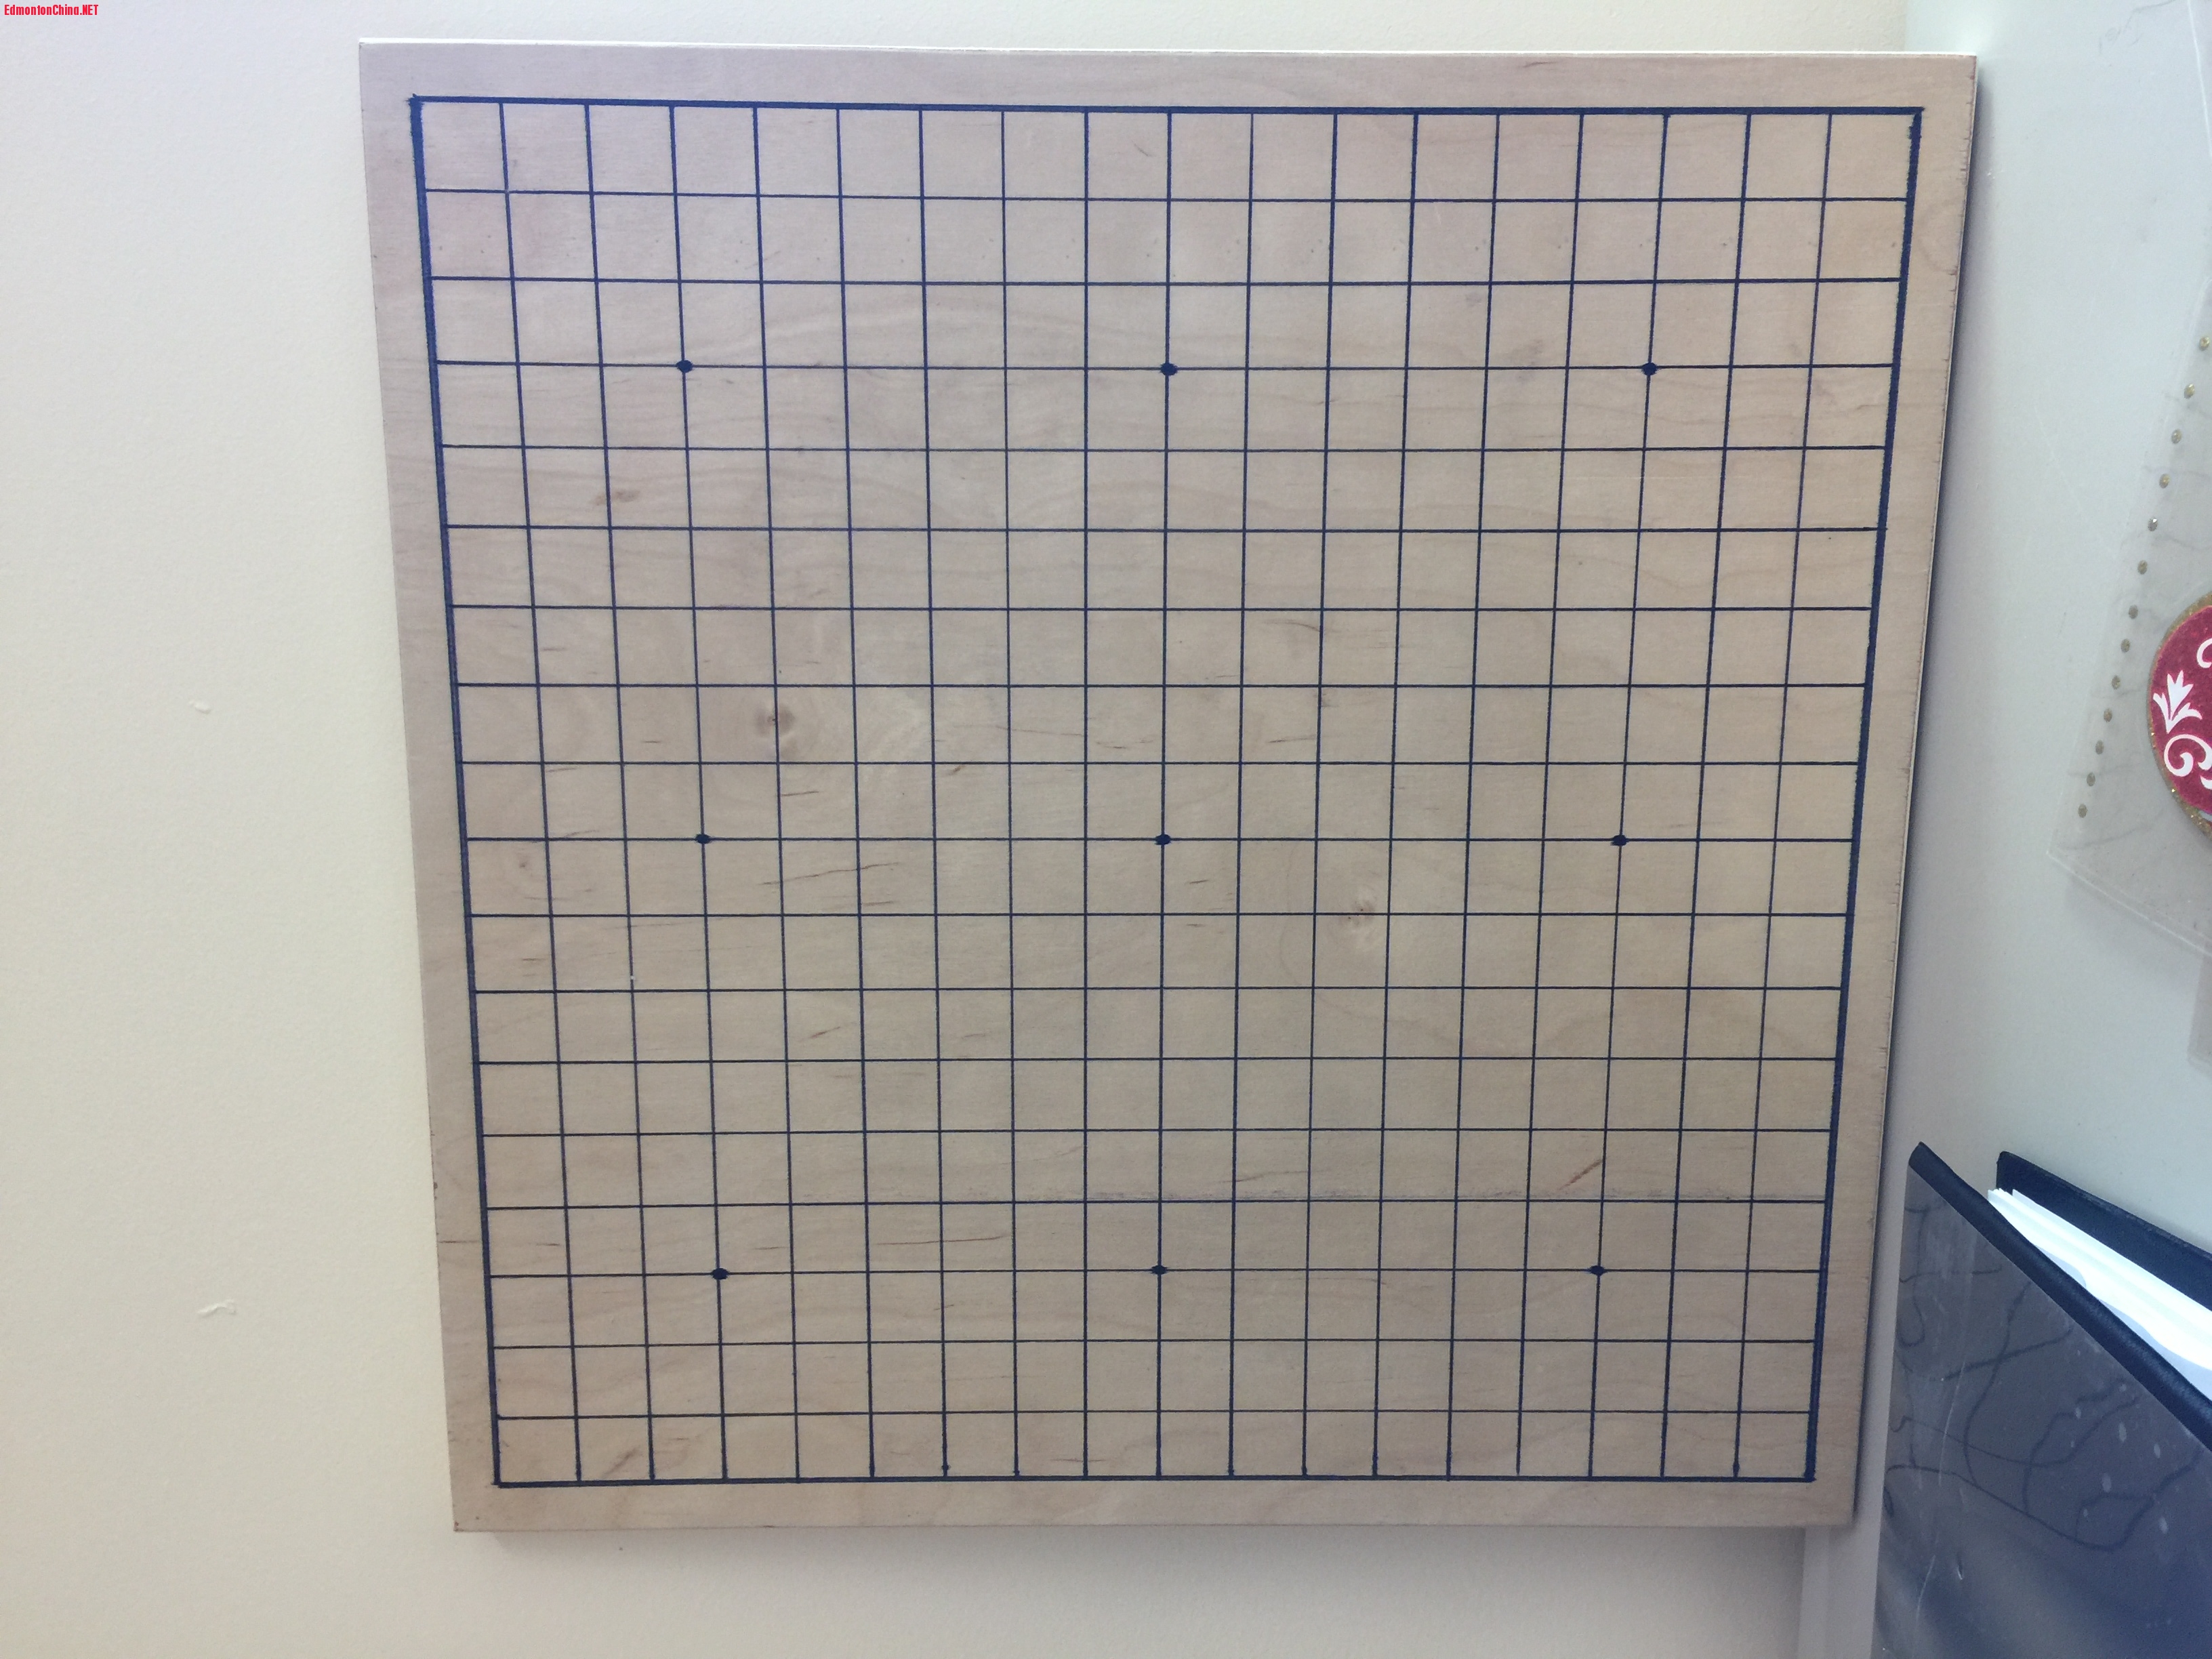
I planned to teach my students how to play Go, but it is so complex a game that most of my students were not really interested in learning it. I bought about 20 sets from China, and I did not want them wasted on the shelf. One day I showed my students how to play five in a row. I also showed them the strategies of how to make 3.3 and 4.3. As a result, my students liked this game very much! After playing for about 3 months, the plastic boards are becoming worn out.
1 J' q% p# j: M8 F5 X& C' ?1 U+ o2 H2 V, {
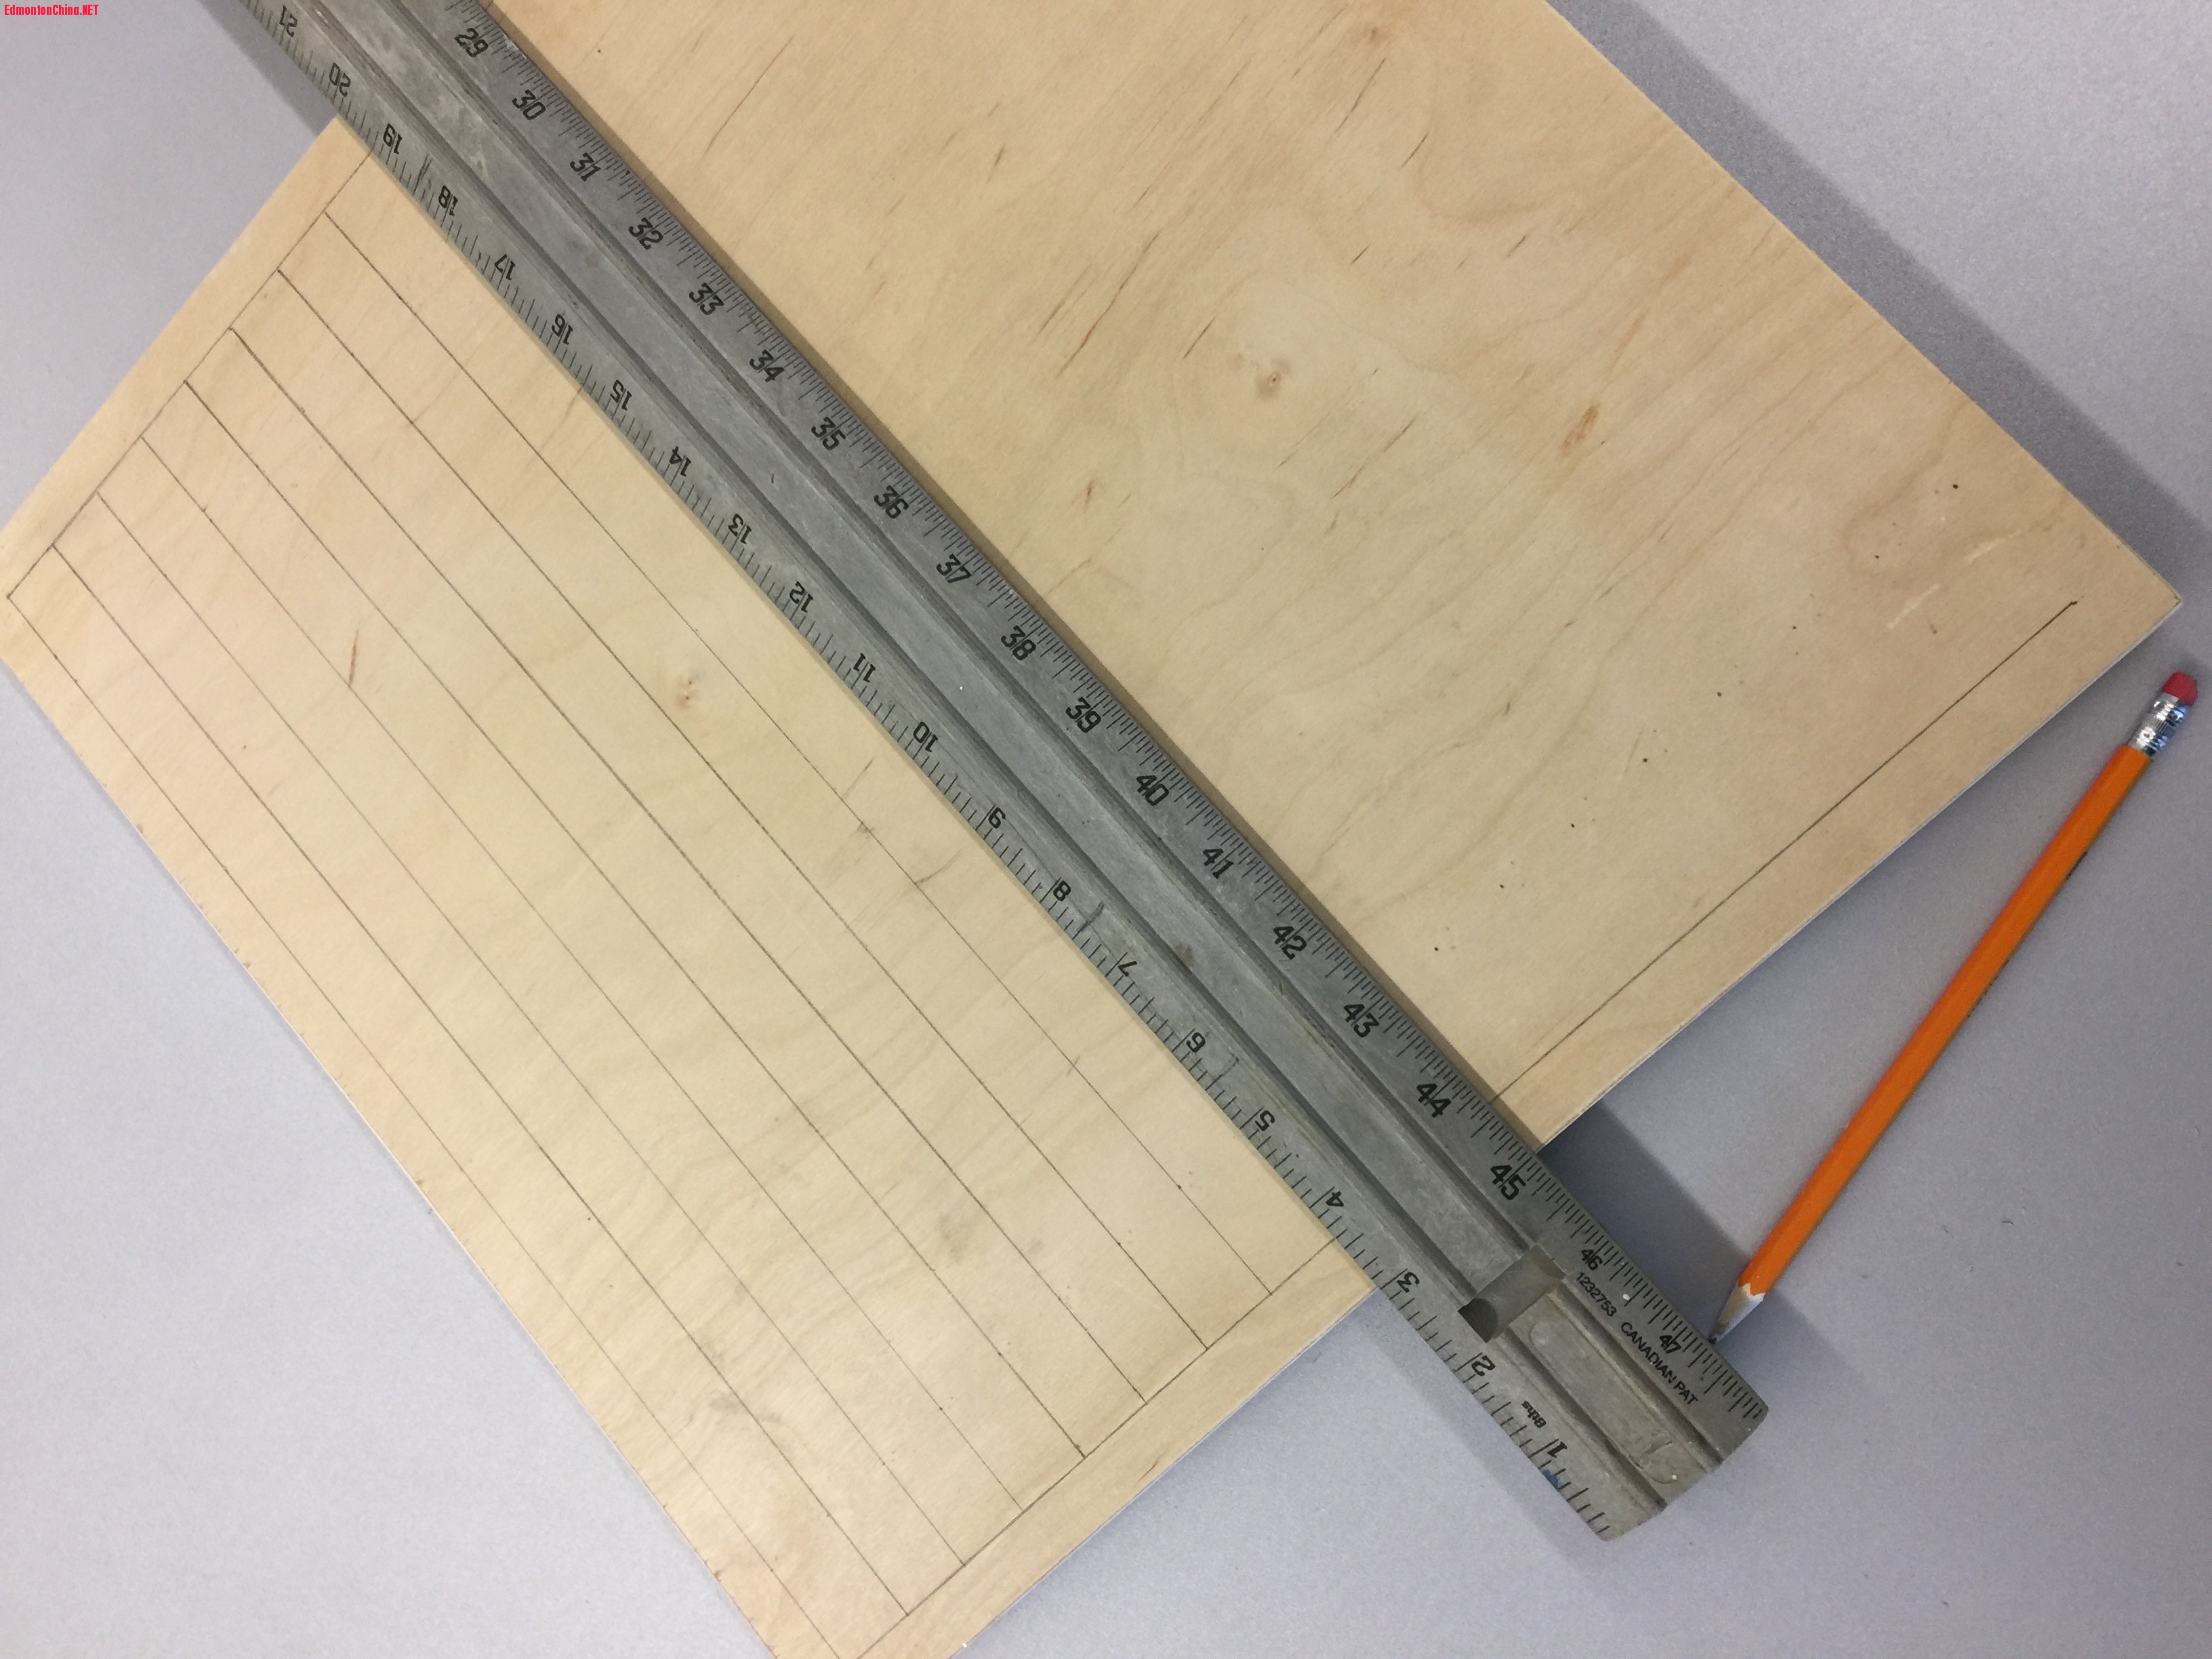
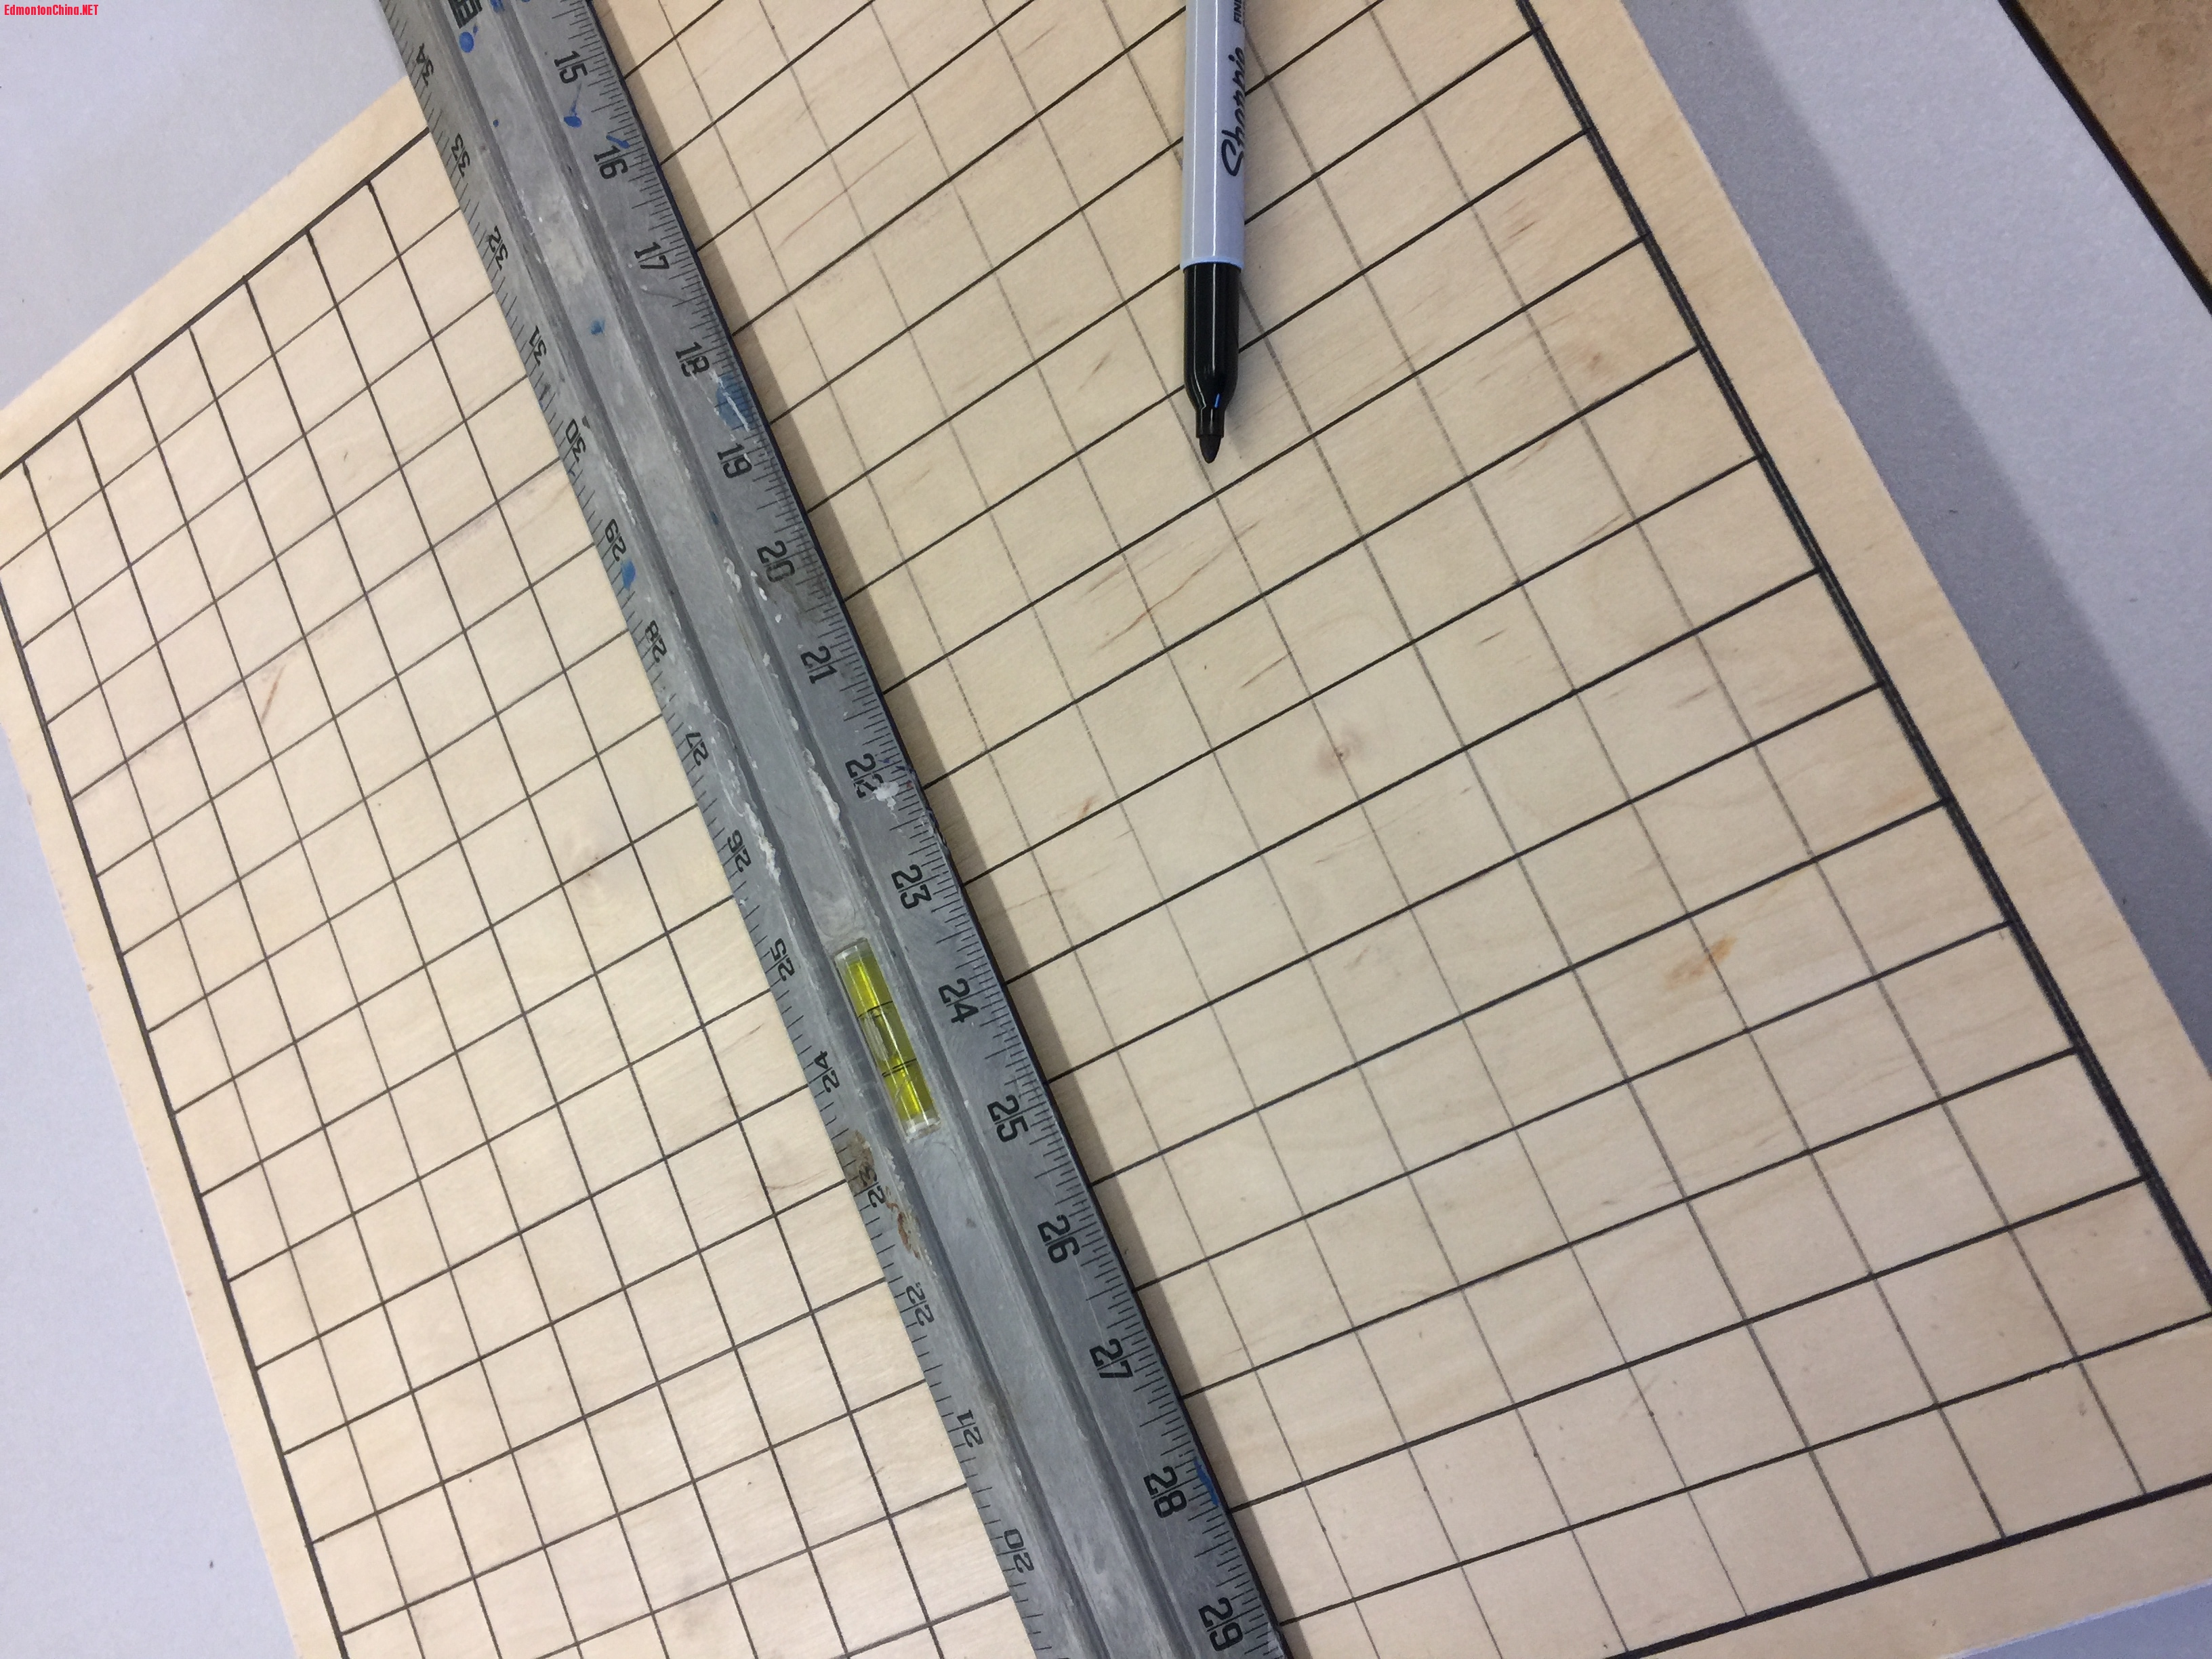
The school has a shop where students take carpenter lessons. The shop teacher was very nice and he allowed me to use the tools and the materials in the shop. First I cut a square board which measures 17 by 17 inches, and gave it a good sanding. Then I calculated the distance between the lines that I was going to draw, marked the locations of the lines with dots, and connected the dots with a ruler. Finally I waxed the board which made the board look professional. I made three of them in a half a day. ) B: |; C! a0 e* ~2 R+ R, ~- t
' d& ^- x _7 a C3 F: B5 N
Here are some pictures I took while making and finishing the fun project.
- S% s( I2 @7 \. o: R: I% `& i
. T$ u% `& P7 Z( }* Z; c
 / u& B* C/ H( o
* Q; I3 f! g% ?
# z( e+ |% P& F1 {* }
- p1 V' c' m# l, V$ y4 Q6 S6 }
|
|









 狗仔卡
狗仔卡
 发表于 2017-12-20 14:06


 提升卡
提升卡 置顶卡
置顶卡 沉默卡
沉默卡 喧嚣卡
喧嚣卡 变色卡
变色卡 显身卡
显身卡

 发表于 2017-12-21 18:19